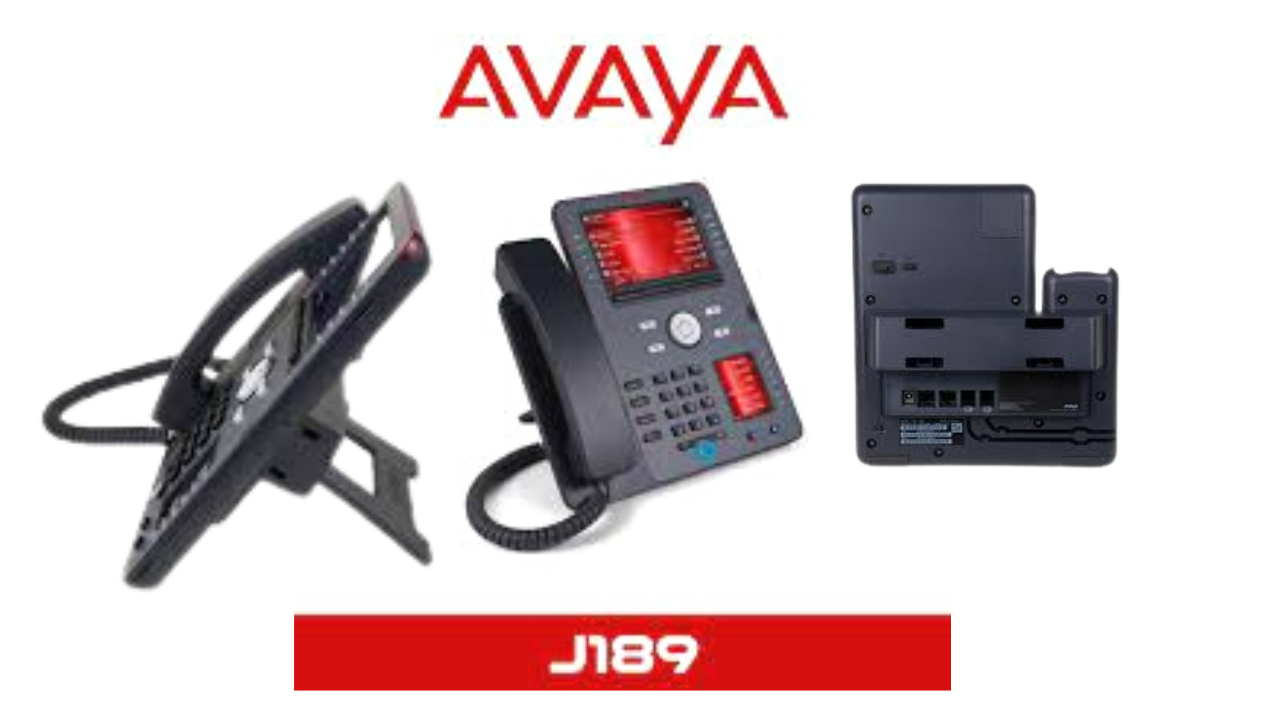
Avaya J189
The Avaya J189 Dubai is a VoIP phone that is designed for small businesses and office workers. The J189 features a large color screen, a built-in speakerphone, and a host of other features that make it an ideal phone for small businesses.
Introducing the Avaya J189
The Avaya J189 is a new VoIP phone that is designed for small businesses. The phone has a sleek and modern design that is easy to use. The J189 also has a number of features that make it a great choice for small businesses.
The first thing that you’ll notice about the J189 is its design. The phone has a small footprint and is very lightweight. It’s also got a color LCD display that is easy to read. The buttons on the phone are large and easy to press.
The J189 also has a number of features that make it a great choice for small businesses. The phone supports up to 8 VoIP accounts and has a built-in conference call feature. The phone also has a speakerphone and a headset jack.
If you’re looking for a VoIP phone for your small business, the Avaya J189 is a great choice. The phone has a sleek design, is easy to use, and has a number of features that make it a great choice for small businesses.
What are the features of the Avaya J189?
The Avaya J189 is a VoIP phone that is designed for use in small businesses and home offices. It is a very basic phone with only a few features, but it is very easy to use and is very affordable. The phone has two lines, a speakerphone, and a caller ID display. It also has a directory feature that allows you to store up to 500 contacts.
How to use the Avaya J189 features
The Avaya J189 is a powerful IP phone that offers a variety of features to help you stay connected and productive. Here are some tips on how to use the Avaya J189 to its fullest:
To place a call, simply pick up the handset and dial the number. To answer an incoming call, pick up the handset or press the Answer softkey.
To place a call on hold, press the Hold softkey. To retrieve a held call, press the Resume softkey.
To transfer a call, press the Transfer softkey and then dial the number you wish to transfer the call to. To complete the transfer, press the Transfer softkey again.
To conference two calls together, press the Join softkey while on an active call. You will then be prompted to dial the number of the second call. Once the second call is connected, press the Join softkey again to complete the conference.
The Avaya J189 also offers a variety of features accessible through the phone’s menus. To access a menu, press the Menu softkey and use the navigation keys to scroll through the options. To exit a menu, press the Exit softkey.
The Avaya J189 is a great tool to help you stay connected. By taking advantage of its features, you can make calls more efficiently and collaborate with others more effectively.
How to set up the Avaya J189
If you’re looking for a guide on how to set up the Avaya J189, you’ve come to the right place. In this blog post, we’ll walk you through the steps necessary to get your J189 up and running.
The first thing you’ll need to do is connect the J189 to your computer. To do this, you’ll need to use an Ethernet cable. Once the J189 is connected to your computer, you’ll need to configure your computer’s IP address. To do this, you’ll need to open the Control Panel and go to Network and Sharing Center. Once you’re in the Network and Sharing Center, you’ll need to click on Change adapter settings.
Once you’re in the Change adapter settings window, you’ll need to right-click on your Ethernet adapter and select Properties. Once you’re in the Properties window, you’ll need to select the Internet Protocol Version 4 (TCP/IPv4) and click the Properties button.
In the Internet Protocol Version 4 (TCP/IPv4) Properties window, you’ll need to select the Use the following IP address option and enter the following information:
IP address: 10.0.0.1
Subnet mask: 255.0.0.0
Default gateway: 10.0.0.2
Once you have the IP address configured, you’ll need to open a web browser and enter the IP address of the J189 into the address bar. This will bring you to the J189’s web interface.
In the J189’s web interface, you’ll need to click on the Configuration tab and then click on the Network tab. In the Network tab, you’ll need to select the Static option and enter the following information:
IP address: 10.0.0.3
Subnet mask: 255.0.0.0
Default gateway: 10.0.0.2
Once you have the network configuration set up, you’ll need to click on the Save button.
The next thing you’ll need to do is set up a user account. To do this, you’ll need to click on